Keeping kitchen counters clutter-free can transform your cooking space into a more enjoyable, functional area. A clean and organized countertop not only looks appealing but also makes meal preparation faster and cleaning easier. If your counters tend to get crowded with appliances, utensils, and miscellaneous items, this guide will help you create a tidy, clutter-free kitchen step by step.
Why Keep Kitchen Counters Clutter-Free?
Cluttered counters can feel overwhelming and reduce your efficiency in the kitchen. When surfaces are clear, you have more room to prep food, avoid cross-contamination, and make cleaning quicker. Additionally, a neat countertop creates a calm environment and makes the space look larger and more inviting.
Step 1: Clear Everything Off
Start by removing everything from your kitchen counters. Take a good look at what you have. This empty slate helps you evaluate which items truly belong on your counters and which ones should be stored elsewhere.
Tips for Sorting Items
– Group items into categories: daily essentials, occasional use, and unnecessary clutter.
– Identify duplicates or items rarely used; consider donating or storing them.
– Think about what you use daily and keep only those items within easy reach.
Step 2: Clean Your Countertops Thoroughly
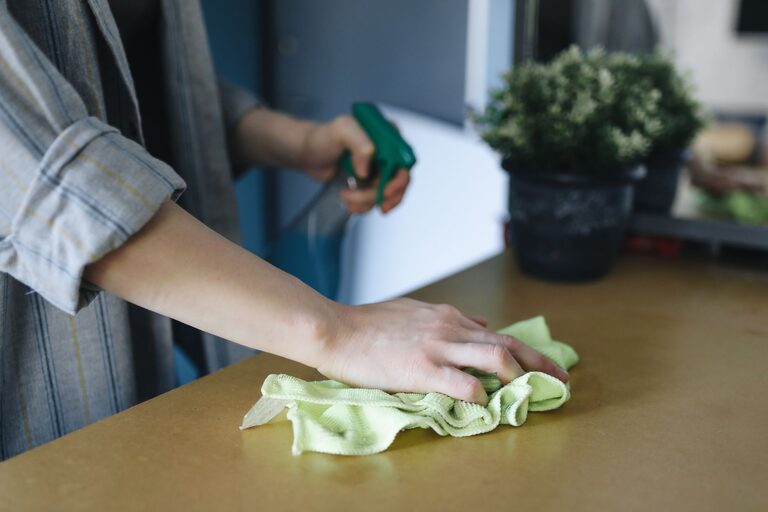
With everything off the counters, it’s the perfect time to give them a deep clean.
– Use a gentle, non-abrasive cleaner suitable for your countertop material.
– Wipe down the surfaces, backsplashes, and edges.
– Dry everything thoroughly to prevent water spots or damage.
Step 3: Maximize Storage Solutions
To keep counters clear, you need smart storage options that work for your kitchen size and style.
Use Cabinets and Drawers Wisely
– Store appliances like blenders or toasters inside cabinets if you don’t use them daily.
– Use drawer organizers for utensils and kitchen tools.
– Consider adding pull-out shelves or rotating trays for easier access.
Add Vertical Storage
– Install wall-mounted shelves or magnetic knife strips.
– Use hooks to hang mugs, measuring spoons, or small pots.
– Try a pegboard for flexible organization of frequently used items.
Incorporate Containers and Trays
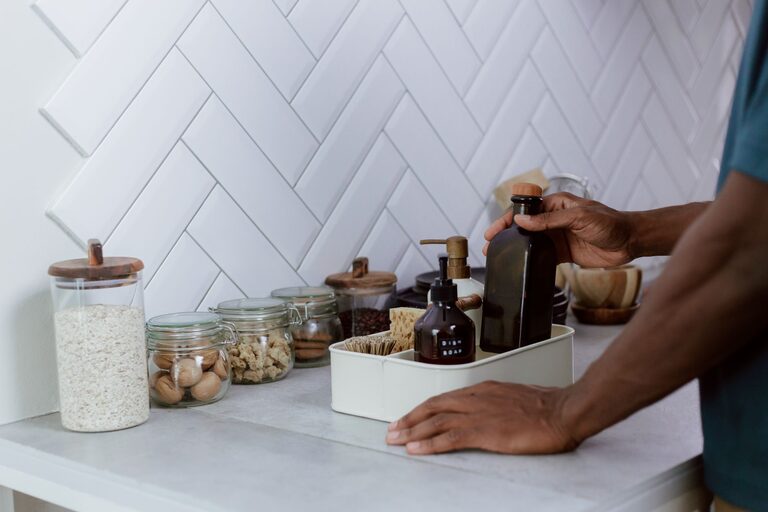
– Group small items (spices, oils, coffee pods) in labeled containers or trays.
– This keeps them organized and makes moving them for cleaning easier.
Step 4: Keep Daily Essentials Accessible But Neat
It’s practical to have some items out on the counter, but keep these to a minimum.
– Limit countertop items to essentials like a coffee maker, fruit bowl, or cutting board.
– Assign each item a specific place and return it there after use.
– Use attractive storage containers or trays to keep these items neat and contained.
Step 5: Adopt Simple Habits to Maintain Clarity
The key to a clutter-free counter lies in maintenance. Small habits can make a big difference.
– Wipe counters daily after use to prevent buildup.
– Put away items immediately after cooking or cleaning.
– Regularly assess and remove items that don’t belong or aren’t used.
– Avoid turning counters into a drop zone for mail or keys; create a designated area elsewhere.
Bonus Tips for Small Kitchens
If you have limited counter space, every inch counts.
– Consider a kitchen cart or island on wheels for extra prep space that can be moved.
– Use multi-functional appliances that combine several functions into one.
– Keep window sills or unused wall space in mind for storage options.
Conclusion
Making your kitchen counters clutter-free doesn’t require a major remodel or expensive tools. By clearing, cleaning, organizing, and maintaining your space, you can enjoy a neat kitchen that serves your needs efficiently. Start small, be consistent, and over time your beautiful, clutter-free counters will become a natural part of your daily routine.
—
Remember, a tidy kitchen encourages creativity and makes cooking more enjoyable. Happy organizing!
About the Author